Creating an Azure AD Connection
You can use an Azure AD Connection with the following Connectors:
Prerequisites
In order to create an Azure AD Connection, you must first create an app registration with a service principle in Azure Active Directory (see https://docs.microsoft.com/en-gb/azure/active-directory/develop/howto-create-service-principal-portal#register-an-application-with-azure-ad-and-create-a-service-principal). Make note of the following settings in the app registration:
- Tenant ID
- App/Client ID
- Client Secret
Creating the Connection
To create an Azure AD connection:
- Navigate to Custom > Connections.
-
Click
 .
.
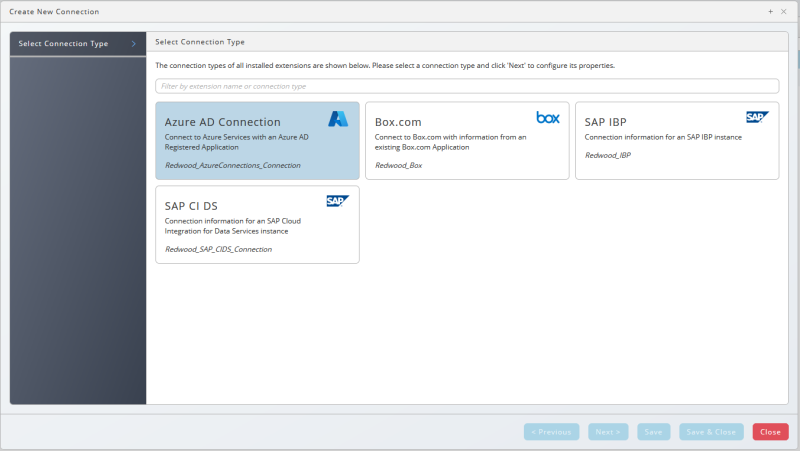
- Under Select Connection Type, click Azure AD Connection.
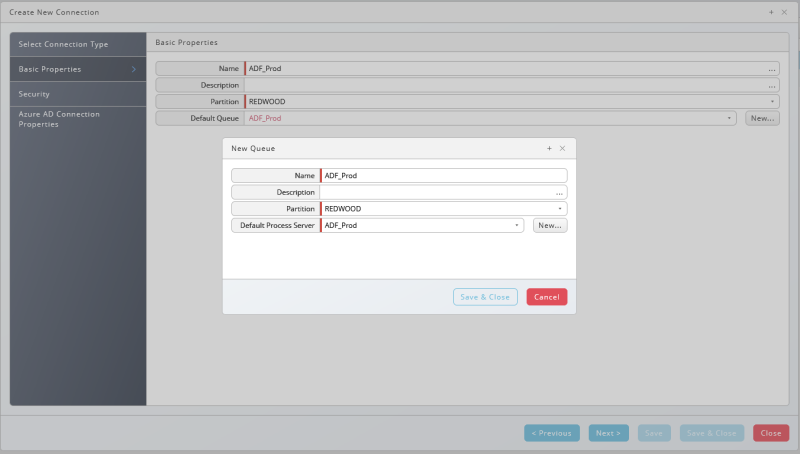
- Click Next or Basic Properties.
-
Create a Queue and Process Server for your Azure connection. All required settings will be configured automatically.

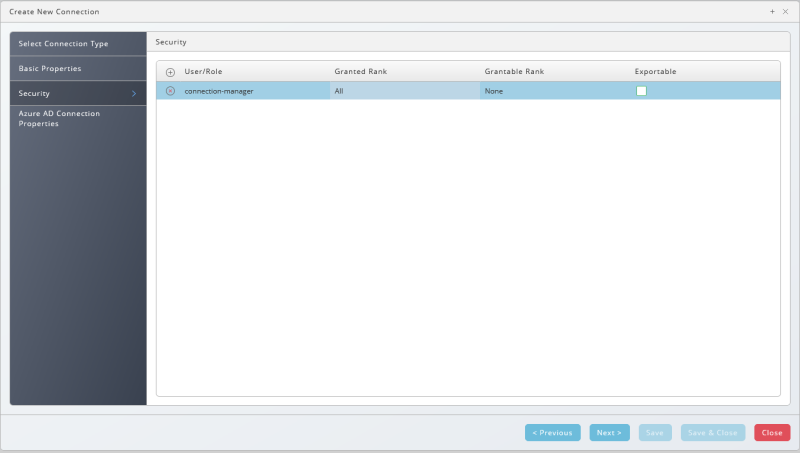
- Click Next or Security.
-
Click
 to specify which roles can access the connection information. Redwood recommends granting to the role at least the following additional privileges:
- View on the required service.
- For the Azure DataFactory Connector, View on the DataFactory Process Server and ServiceForRedwood_DataFactory service.
- For the Azure Synapse Connector, View on the Synapse Process Server and the ServiceForRedwood_AzureSynapse service.
- For the Azure Machine Learning Connector, View on the Machine Learning Process Server and the ServiceForRedwood_AzureML service.
- View on a Process Server that has the required service installed.
- View Processes on a Queue that has at least one Process Service with the required service installed.
- View on the relevant library.
- For the Azure DataFactory Connector, View on Redwood_DataFactory.
- For the Azure Synapse Connector, View on Redwood_AzureSynapse.
- For the Azure Machine Learning Connector, View on Redwood_AzureML.
- Submit on any Process Definitions that users with this role will submit.

- View on the required service.
-
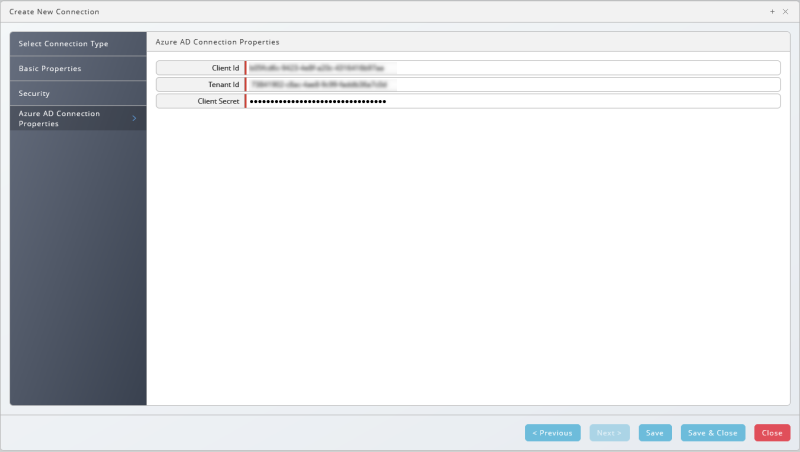
Click Next or Azure AD Connection Properties.
-
Enter the Client ID, Tenant ID, and Client Secret values.

-
Click Save & Close.