Configuring a Workflow
Note: Before you read this topic, be sure to read Definitions and Calls.
To configure properties at the Workflow call level, click the START circle in the Workflow Editor.
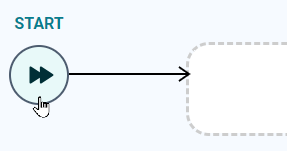
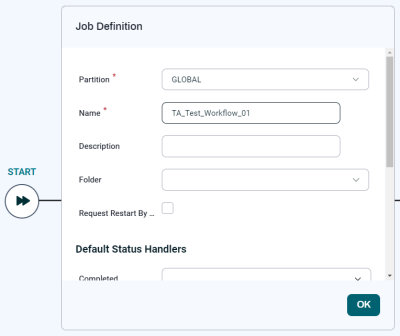
The Job Definition overlay displays.
-
Choose a Partition for the Workflow.
-
Enter a Name for the Workflow, and optionally a Description to display instead of the Name.
-
If desired, choose a Folder.
-
If you want the Workflow to request restart by default, check Request Restart By Default.
-
If desired, use the controls in the Default Status Handlers section to add default Status Handlers.
-
If the attribute you want to configure is not displayed, scroll down and click Open Advanced Job Definition Editor. This opens the Workflow Definition overlay, which provides access to all of the tabs available for configuring Workflows. If not, click OK.
-
Add Jobs to the Workflow.
-
To change the order of Steps, click and drag them by their header. You can also drag and drop Jobs from one Step to another.
-
To delete a Step or Job, hover over it until the
 icon displays, then click the icon.
 -
Specify any parameter mappings you want to use.
-
To test the Workflow, click Run. The Run Wizard displays. Enter any required values, then click Submit.
-
When the Workflow is working correctly, click Save.
-
If you make changes to the Workflow after you save it, and you want to undo those changes, click Revert.
At any time, you can click the name of the Workflow at the top to see an overlay with information about the Workflow and an Edit Workflow button